I need to stop going on Pinterest. I keep coming up with this "brilliant" ideas/projects that take me forever to complete. My most recent project was on a blog I saw HERE. This chick turned this Vittsjo nesting table from Ikea into a beautiful high end looking table, so of course I had to do the same. It's easy she said, only need little patients, she said... UM YEAH RIGHT!
Have you ever worked with gold leaf? Cause it's a bitch!
Before attempting this crappy project I watched countless videos and read a number of blogs on gold leafing. Apply adhesive, slap on gold leaf, and then add another coat of adhesive... seems simple enough. NOPE!
Issue #1: I live in a 750 square foot studio apartment, without a balcony
Issue #2: Spray adhesive gets everywhere (my remote will never be the same)
Issue #3: Gold leaf is a fussy fussy bitch. She needs to be handled as delicately as possible and even then she may still have a nervous breakdown and fall apart.
I started off with spray painting the table gold (at my moms house). Then I brought it home and put it together. As I was doing this I noticed that some of the spray paint was chipping, but thought that's okay I'm putting leaf over (#doomedfromthestart). Then I started with the gold leaf. I tried a number of different adhesives, but found Modge Podge to work the best. I must have put 40 hours into this table and it was not looking good.That's when I found this little gem... Liquid Leaf.
I should have started with this bad boy from the beginning. Once I finished leafing the entire table I went in with the liquid leaf and filled in all the cracks. It looked so good that I ended up covering the entire table with it. Doesn't it look so much better?!
Now I'm proudly displaying my gold work of art in the middle of my dining room...
This week the R&D Gum team was split into teams and given a pumpkin for a pumpkin carving contest. Being slightly (ahem) competitive, I knew we had to win. First thing I did was go on Pinterest. After a brief meeting my team and I decided to make a cookie monster pumpkin. It was so easy... cut out the mouth, paint it blue, cover it with a shiny clear coat, and add styrofoam balls.
Tada! (haha doesn't it look like his eyes are my boobs?!)
I almost died when I found this recipe. Two of my favorite things mixed together. DUH Why didn't I think of this earlier?! Best part, is that the recipe is SUPER easy. Thank you Pinterest!
Peanut Butter and Nutella Cookies
You'll Need:
1 cup or 2 sticks butter, room temperature
2/3 cup peanut butter (you can use creamy or crunchy)
2 eggs
2 tsp vanilla
2 2/3 cup flour
2 tsp baking soda
1 tsp salt
1/3-2/3 cup Nutella (depending on how much you like it)
Directions:
Cream butter, peanut butter, sugar, brown sugar, eggs, and vanilla together until smooth.
Combine flour, baking soda, and salt to the butter mixture.
Add Nutella in dollops over the top of the dough. Use a butter knife to swirl the Nutella through the dough, but be careful not to over mix.
Chill the dough in the fridge for 15 minutes before spooning onto a cookie sheet, in order to firm the Nutella.
Bake at 350 degrees for 8-10 minutes.
Bake until slightly brown at the edges and then let cool a few minutes on cookie sheet before transferring to a plate.
Have you see the Pinata Cookies that are all over Pinterest yet? (PS you can follow me on Pinterest HERE) Well Veronica and I thought it would be fun to attempt this baking project (why is it that we always try to bake the most difficult things?!). Little did we know, what a bitch these mini cookies would be!
First, it started with having to find mini M&Ms. Do you have any idea how hard it is to find mini M&Ms when it's not around a holiday? I'll tell you... very hard! I went to multiple stores trying to find these and even spoke with an M&M representative. She was of no help to us! Luckily Veronica was in line at Target, when she spotted tubes of mini M&Ms at by the food area. She literally whispered to me over the phone that she could not run over to the counter fast enough because she was afraid someone else was going to swoop in and buy them all. She calls me asking how many she should buy, I said maybe 3. What does she buy? THE ENTIRE SUPPLY! LOL
Because we were tight on time Vero prepped the dough the night before. These were just good old fashioned sugar cookies. She said it took forever, because she had to split the dough into multiple piles, dye them, and then smash them into mini loaf pans. Then she had to refrigerate them. I guess this process takes quite a while. The only casualty that day was that her hands were dyed a multitude of colors.
Don't worry we have tons of pics and videos!
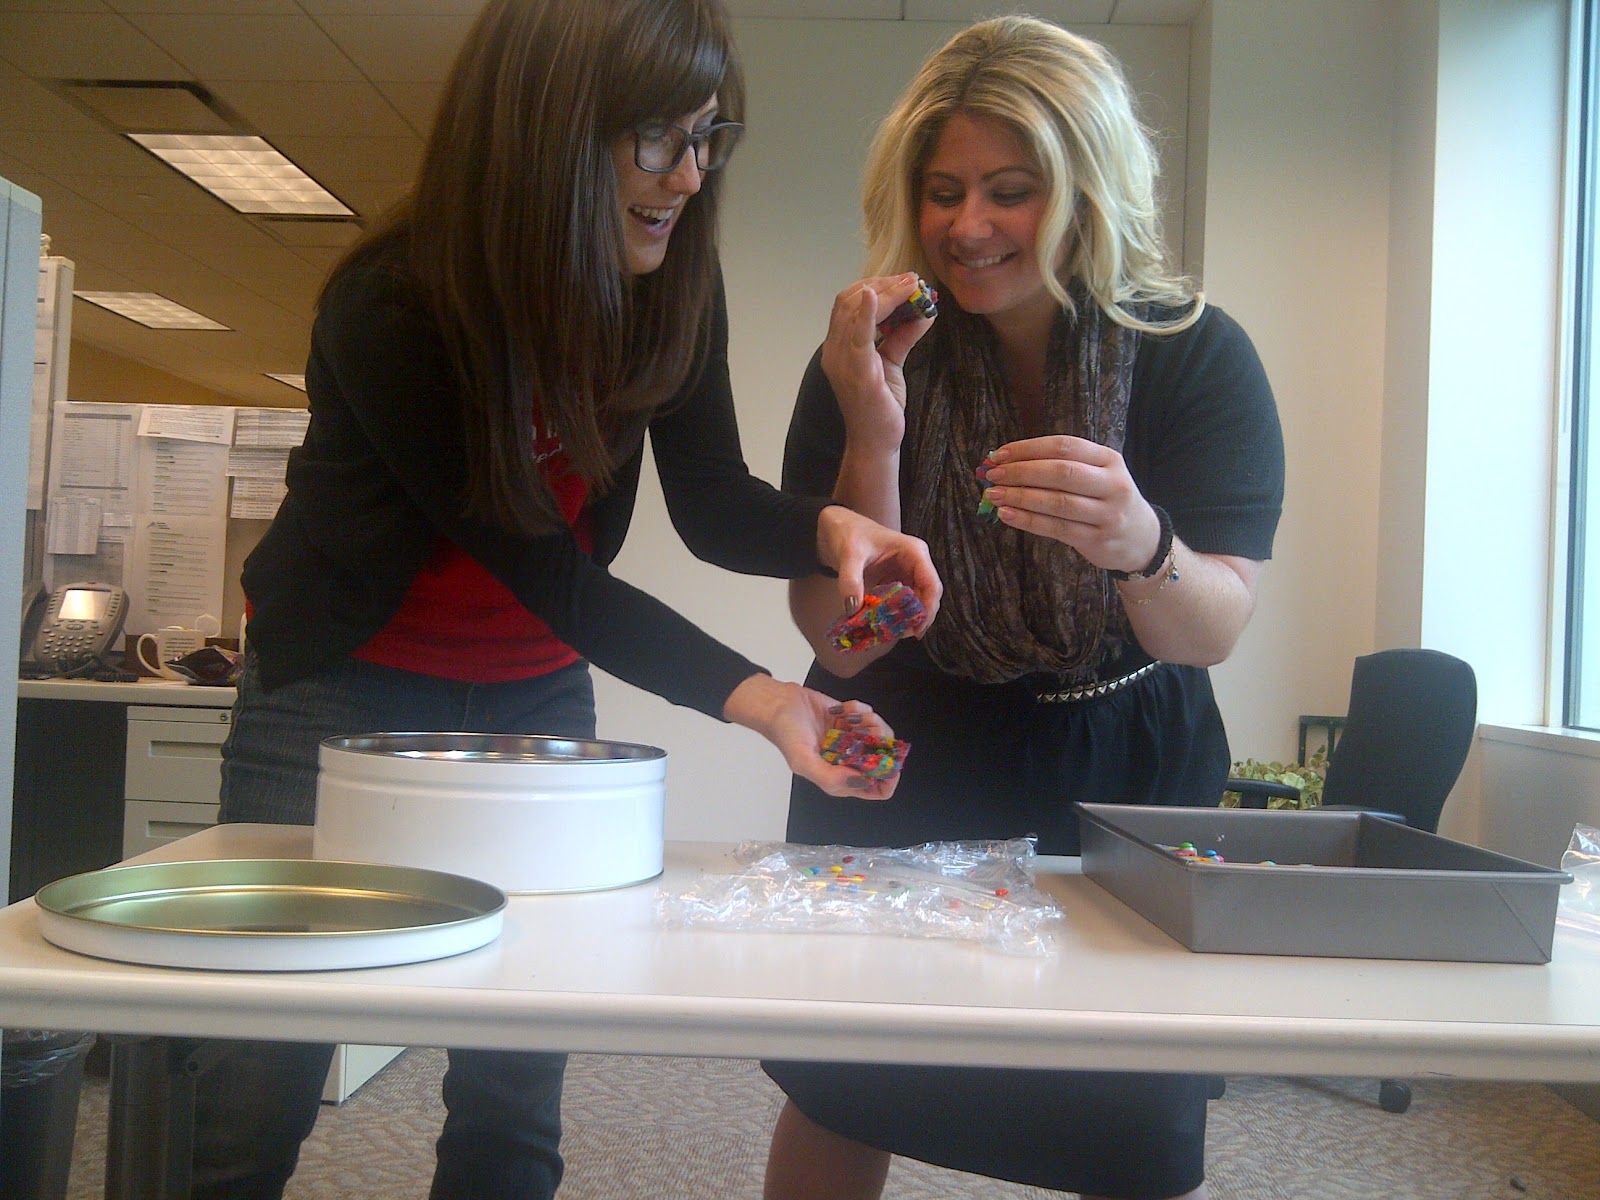
The next night when I came over, Veronica and I removed the dough from the pans and cut it into thin slices, as seen above. Then we put about 10 slices on a cookie sheet and popped them in the oven. This is when we had to start moving fast and we implemented what I like to call a Hott Mess Assembly Line. As the cookie slices were coming out of the oven, we had to cookie cut them with our "burro" cookie cutter - yes, you must attempt to roll the "r." We also had to remember to switch the cookie cutter over because a dumb pinata cookie consists of not just 1 or 2, but 3 pieces of cookie. After the cookie was cut, we had to remove the center of one of the horses so we could make a pinata. I know this make no sense and that is why I provided a video.
See what a mess we are! HA! Now that everything's cut into pieces, we have to assemble. We did this by attaching a full piece and cut out piece with frosting. Then after the frosting was dried, we add in the M&Ms and seal the cookie with frosting and a top layer of "burro". Are you confused yet? Check out the next video...
Did I mention that we are never going to bake pinata cookies ever again. We only made 12 cookies, but used 3 pans of dough. So much cookie was wasted making these pinata cookies. The amount of left over cookie was crazy, we had cookie coming out of our ears. Everyone was eating left over cookie (IT WAS SO GOOD!).